Halloween Style 2016

The run-up to Halloween is in full swing, and if there’s one place you need to go for cute yet sophisticated Halloween goodies, it’s Fortnum and Mason. Every year they produce a range of fearsome snacks, sweets and treats, and even if you’re not buying, heading for a browse is a must-do in October. (And please, don’t forget to visit for Christmas too!)

You can also check out their range online here. I think I’d die and go to heaven if I ever got my hands on one of their incredible Halloween hampers, especially this nifty black and orange version!

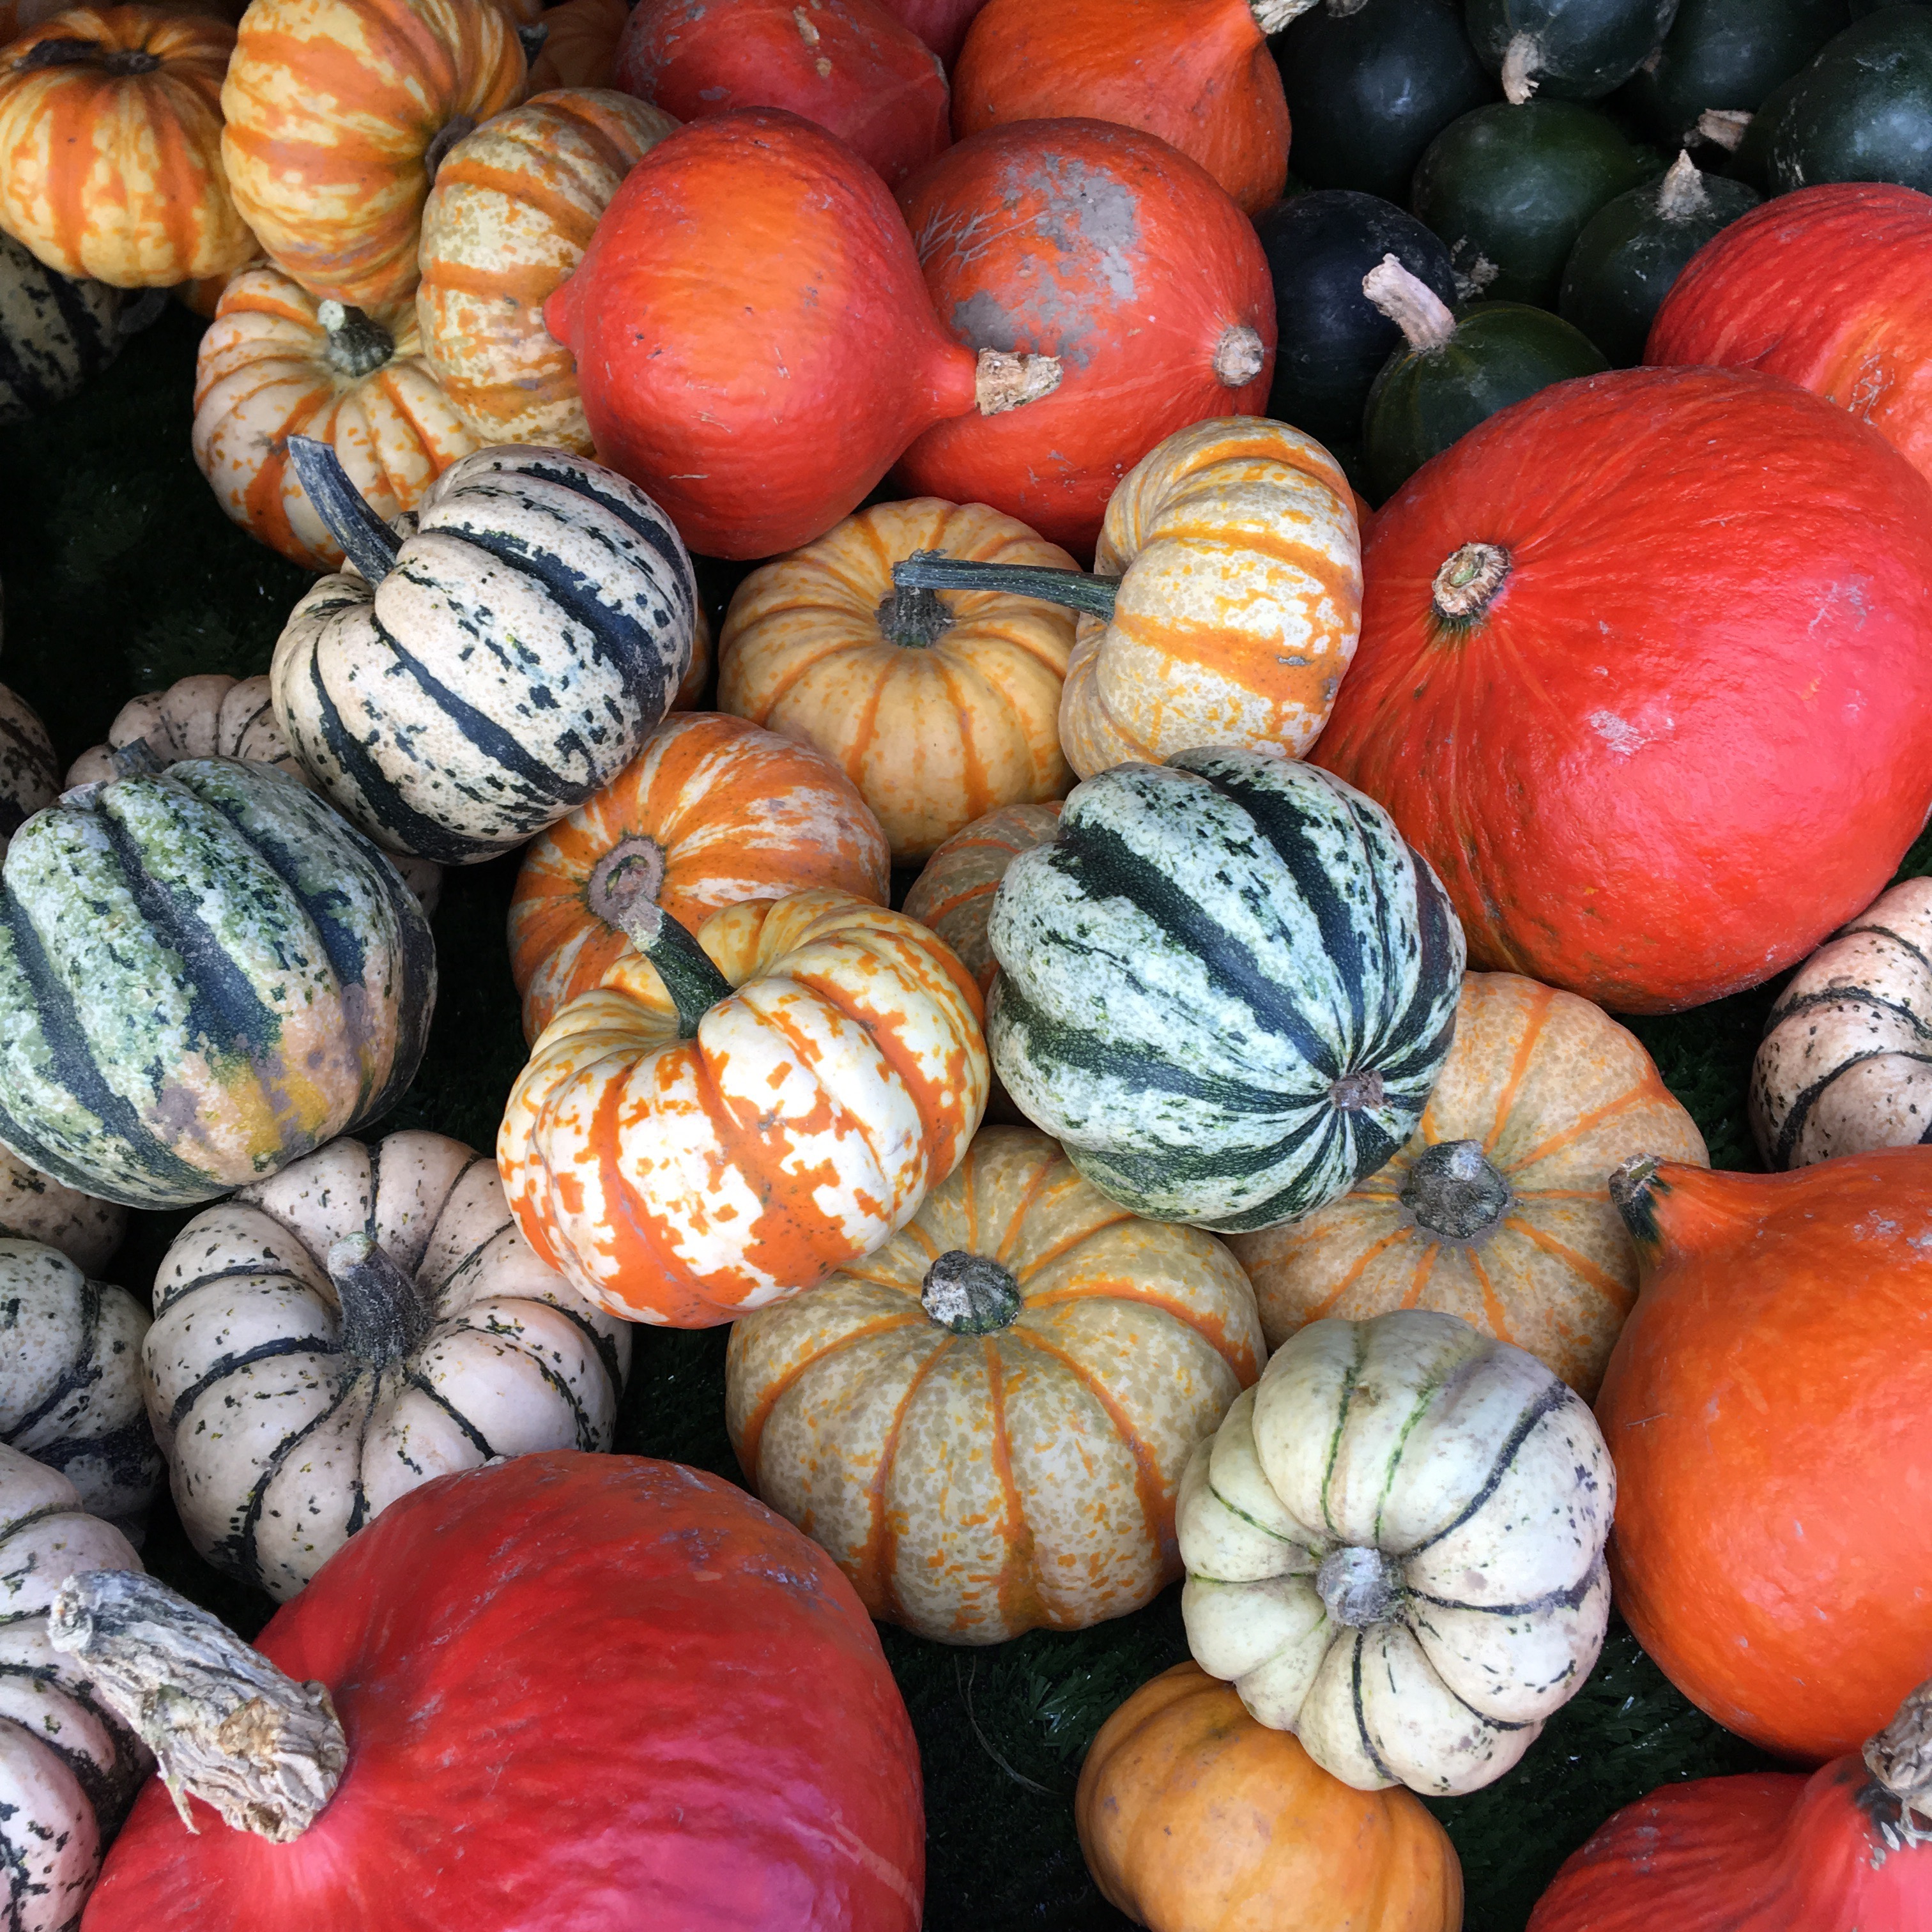
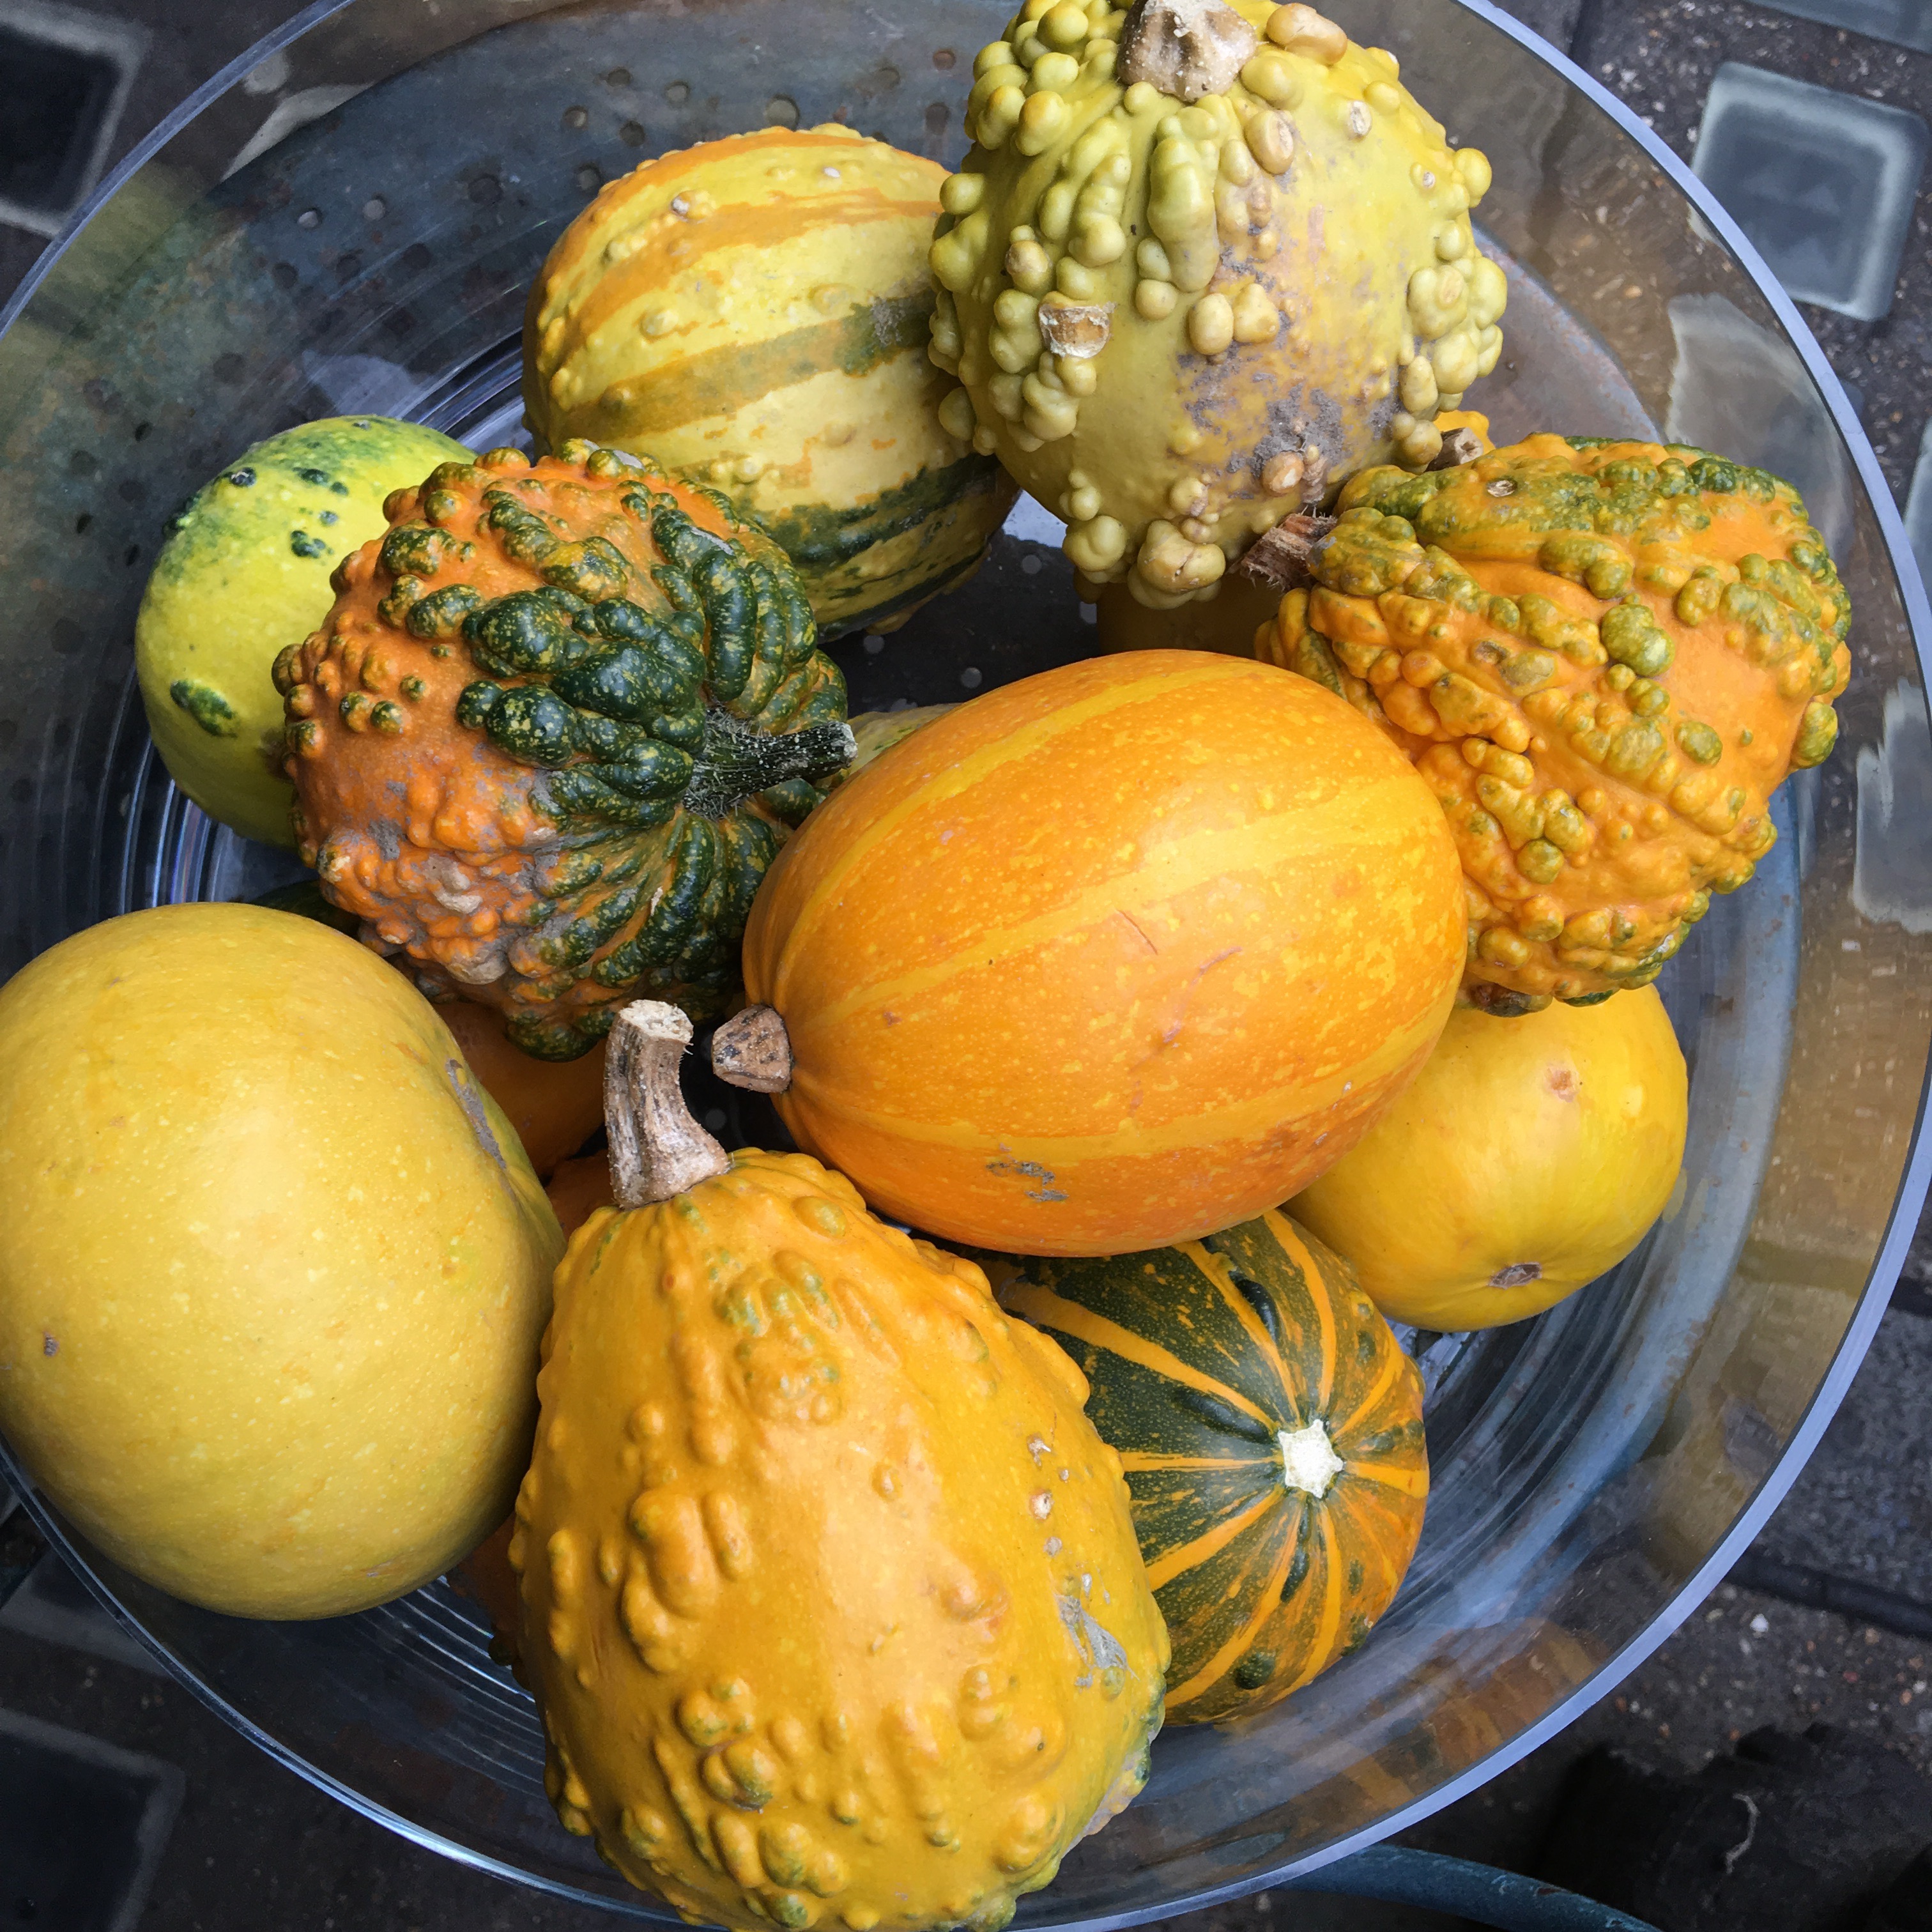
Closer to home, the great pumpkin purchasing has begun – I always buy way too many pumpkins, because I love making displays of them, cooking with them, and carving them! Locally, the best place to go for pumpkins is either the Hampshire Farmers’ Markets, or Pickwell Farm.

I went with my parents earlier in the month and managed to spend £27 on pumpkins… Yes, I bought A LOT of them.

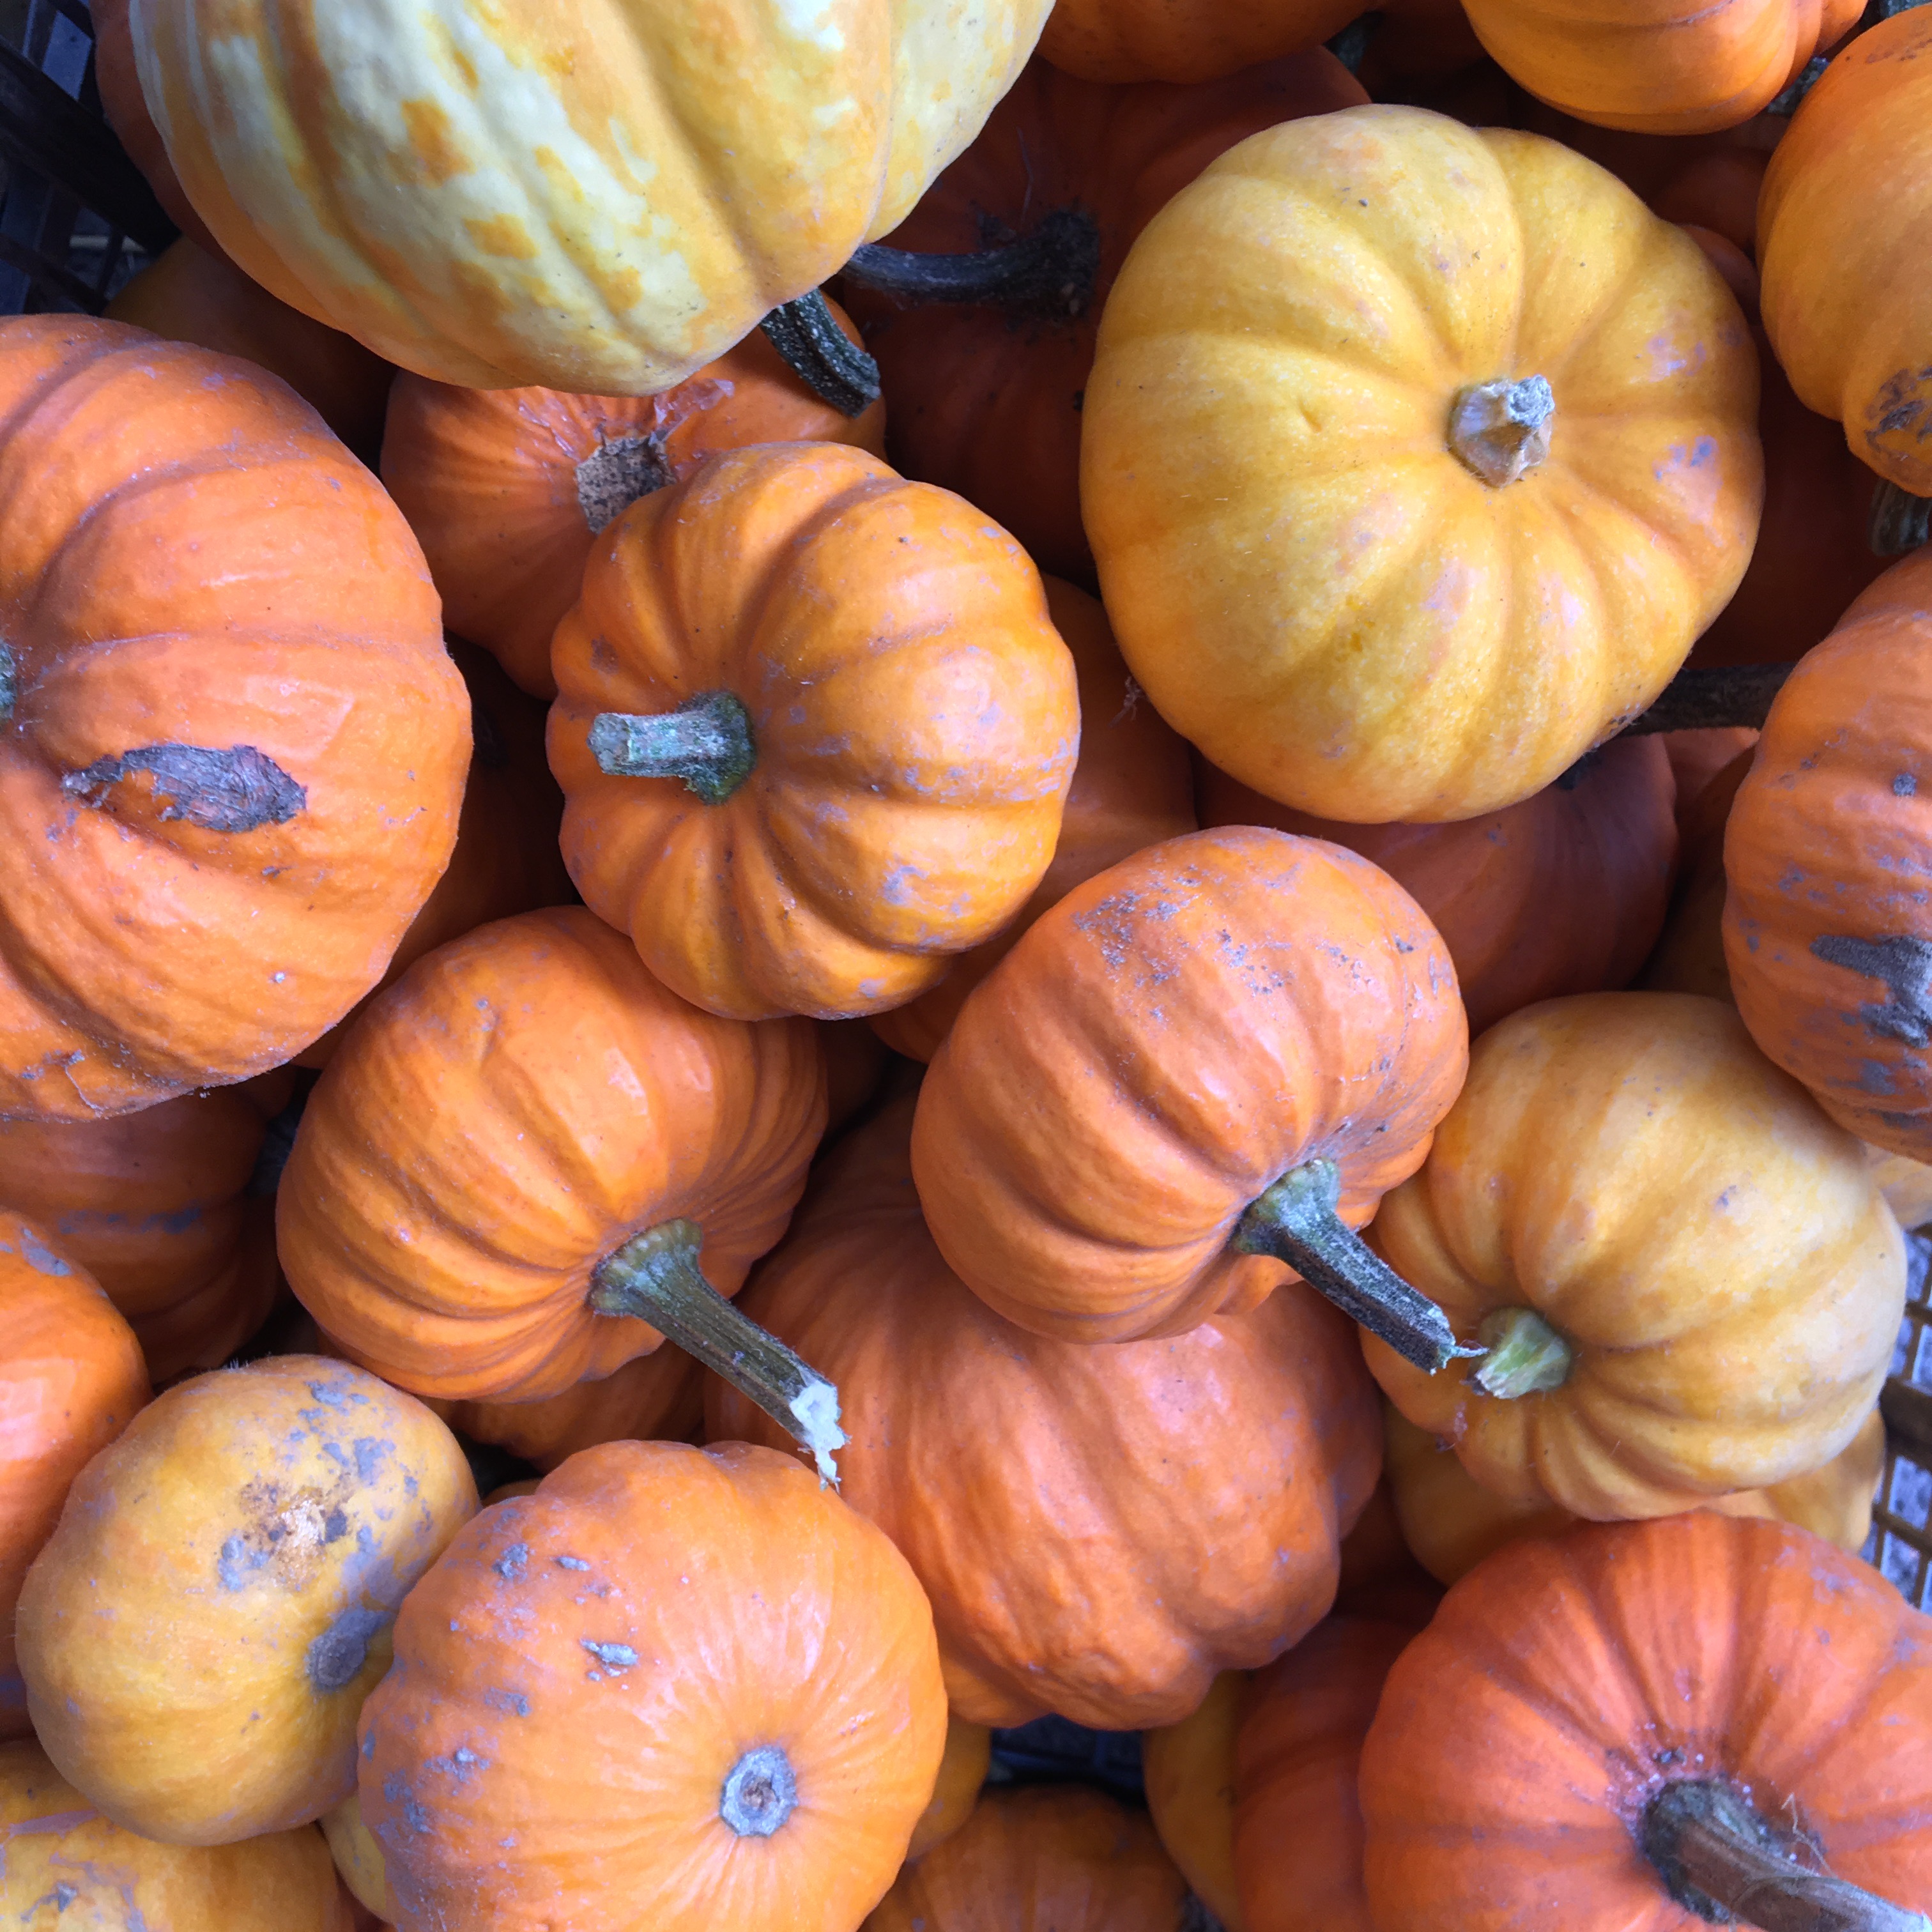
But, how could you resist when they’re so cute and adorable? I picked up a dozen mini orange ones, and a dozen more white ones, which will be perfect to mark place settings on my table at Thanksgiving too!

When it comes to edible pumpkins, you have to try Crown Prince. In my opinion, this is the absolute finest culinary pumpkin, pictured above – and what’s better, it’s easy to spot! It has a beautiful duck-egg blue skin, so you’ll always be able to find it without confusing it with other types. And, if you see the Gem squash on sale, nab some of those, too. Cut off the tops, and fill them with cream, cheese, garlic and a sprig of thyme. Bake in the oven and serve for a hearty lunch or starter. These are a speciality of my mum’s and everyone loves them!

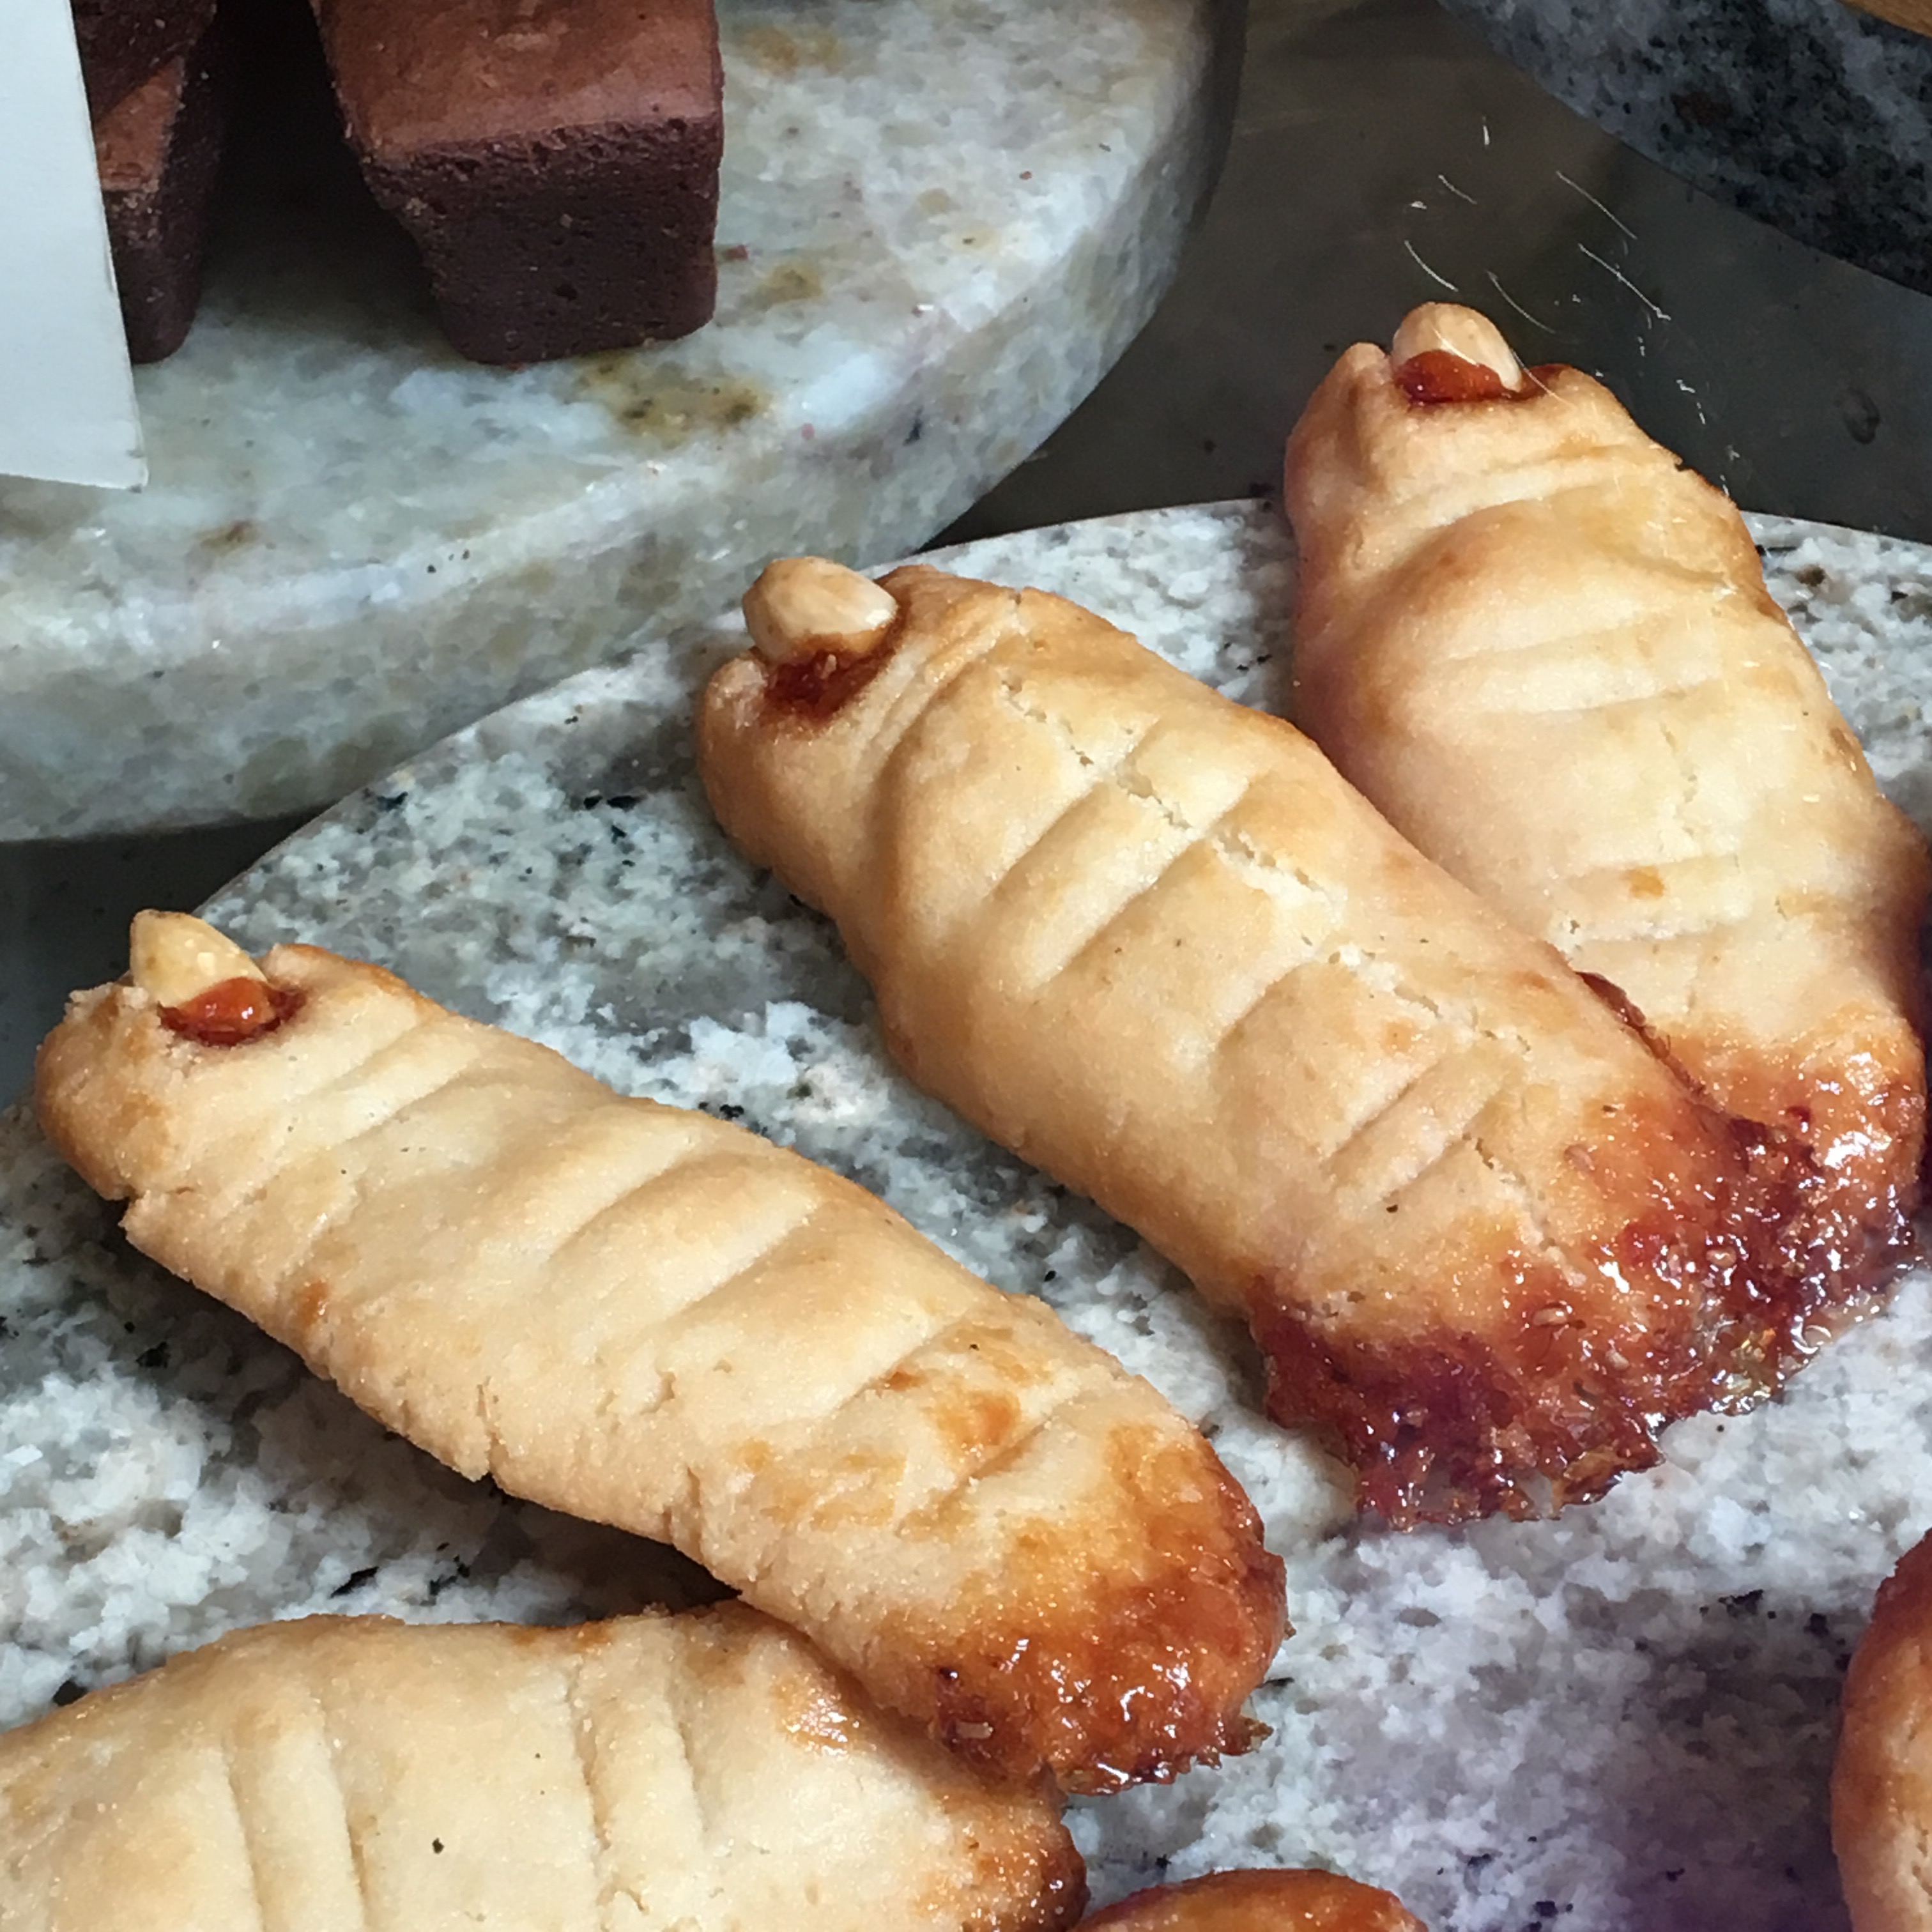
London’s bakeries are getting into the spirit of Halloween with loads of wicked treats! You can make a similar biscuit at home with your favourite sugar cookie or shortbread dough – just form them into fingers and add a blanched almond ‘fingernail’ at the top, and smear liberally with jam!

If you want some more Halloween inspiration, make sure you check out my post about Lancaster London’s Halloween ARTea experience – it was amazing, and the food was utterly, utterly divine. (Still thinking about those chorizo tarts!)

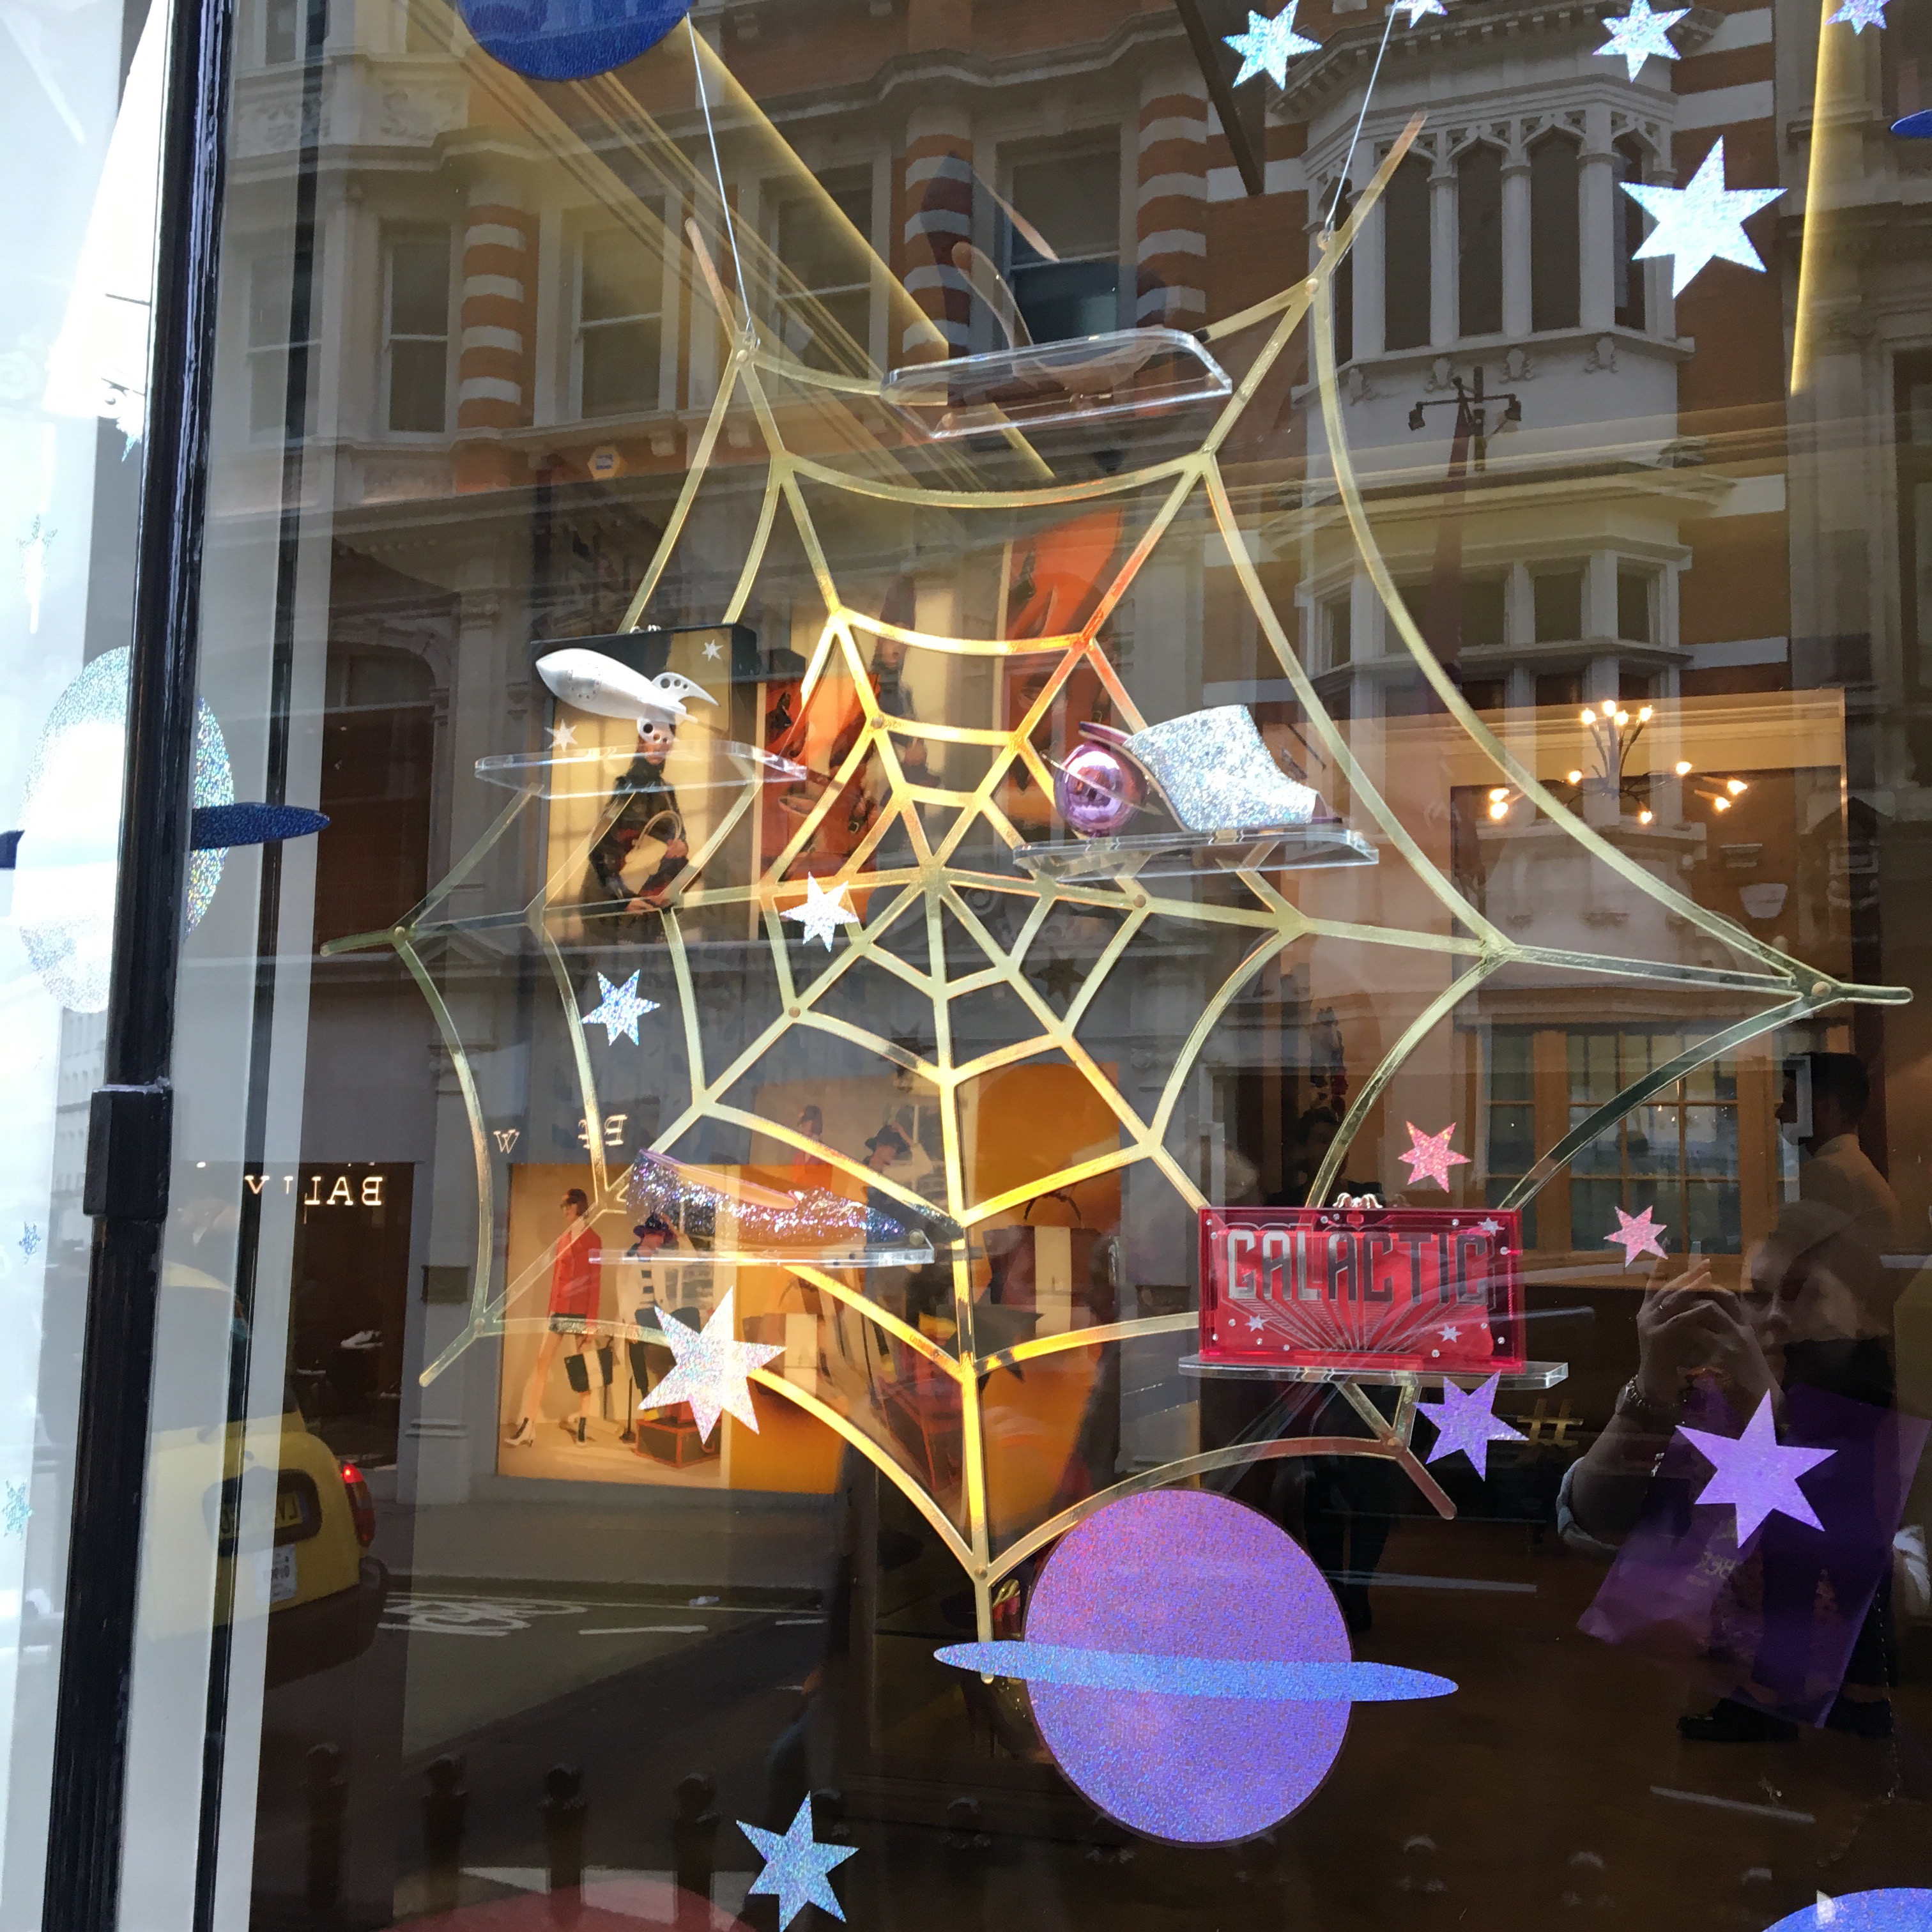
Charlotte Olympia’s window is looking very on trend right now with its spider web logo – and I have to say, I love wearing my kitty flats this time of year because not only are they utterly gorgeous, but they’re also very Halloween-ish!


I also really, really wish I could get a pair of their cool spider web logo earrings, here, but I’m trying very hard to be good with my spending at the moment… Hmm.

Another great Halloween idea for biscuits – ice dark chocolate gingerbread men to look like skeletons! Don’t you just love their cute little skulls?!

So, there’s my round up of some cool Halloween style I’ve spotted recently – how are you going to celebrate this year?! Share your tips in the comments!

Let’s play Halloween dress-up: high/low fashion picks

October is my favourite month of the year – the start of autumn, time for cosy coats, toffee apples, crunchy leaves, Halloween, and, of course, my birthday! This year, I’ve been looking at loads of cool items on the market for celebrating Halloween (as it’s on a Saturday again, whoooooo). I found two gorgeous pairs of spider-inspired shoes – can you guess which ones cost £575 and which cost £45?

Spooky Swampy Green Thai Curry Recipe for Halloween

If you have some guests coming over for Halloween and you want to serve something in the spirit of the celebration, then have I got a recipe for you! There are loads of foods themed for children, but this is a slightly more subtle recipe that takes an old classic and gives it a little tweak to make it suitable for All Hallow’s Eve!

Spooky Green Thai Curry

Spooky Swampy Green Thai Curry Recipe

This recipe makes enough for 10-12 people, when served with rice.

Spooky Green Thai Curry

Ingredients text

  • Vegetable oil for frying
  • 6lb pork shoulder, diced
  • 4 tbsp green Thai curry paste
  • 3 cans light coconut milk (400ml each)
  • 3 cans full fat coconut milk (400ml each)
  • 2 sticks lemongrass
  • 40 dried lime leaves
  • 60ml fish sauce
  • 6 tsp sugar
  • 200g frozen chopped spinach
  • 2tsp green food colouring
  • 1kg frozen broccoli
  • Coriander to garnish
  • Rice to serve

Spooky Green Thai Curry

Method text

  • Fry the pork in batches until browned, and set to one side.
  • With your last batch of pork, add in your curry paste and cook for a minute.
  • Add a splash of water to the pan to bring up any juices stuck to the base.
  • Gradually add in your coconut milk, stirring well to remove lumps.
  • Add in the lime leaves and lemongrass, and return the pork to the pan.
  • Simmer for 30 minutes or until the pork is cooked.
  • Add in the fish sauce and sugar.
  • Add in your spinach and food colouring, then test for seasoning.
  • Now, if you’re making this overnight, allow to cool and place in the fridge, so you can remove excess coconut oil when it has solidified. Or, you can skim the oil from the surface with a ladle.
  • Around 20 minutes before you are ready to serve, add the frozen broccoli, and then cook until piping hot. Alternatively, to keep the broccoli’s colour, parboil, then refresh under cold running water, then run it under boiling water and add to the pan at the last minute.

Spooky Green Thai CurryYou can also read more about other Halloween food from past years here!

Square logo initials

Halloween at Fortnum and Mason

F&M have really knocked it out of the park with their seasonal selections this year. At the beginning of the month, I headed to London with my husband for my birthday and had a blast taking a look at both the Halloween and Christmas displays at the department store. I’ll save the Christmas pics for now, but I thought I’d share these spooky visual treats with you in celebration of Halloween tomorrow!

Fortnum Mason Montage 1

There will definitely be some lucky trick or treaters in London tomorrow if these goodies are anything to go by! You can order online at http://www.fortnumandmason.com/, or pop into the store at 181 Piccadilly. If you’ve never been, you really should visit this most beautiful and historic department store – and if you’re already a regular, I hope I’ve induced you to pop in again to see their amazing seasonal displays!

Personally, I am lusting over that lollipop, those skulls, and those darling little hampers. I’ve always wanted a F&M hamper, and those ones with the orange ribbons are just too adorable!

Square logo initials

Make some Thanksgiving fondant pumpkins for your cakes this Turkey Day!

With Thanksgiving right around the corner, I thought I’d bust out my fondant pumpkin tutorial from Halloween! These cute little pumpkins would look amazing on cupcakes.

Fondant pumpkins

Find out how to make them here!

Halloween: 17 days to go…

I’m getting so excited about Halloween! Is anyone else planning a party to celebrate the spookiest night of the year? I’d love to hear your plans – what are you going to cook? What are you going to wear?! Leave a comment and let me know… I’m dying of curiosity!

You might notice that, in the spirit of the event, I’ve added a handy new link to your left, which when clicked, will lead you to all my posts with the category ‘Halloween’, so if you want to find the Halloween marshmallow recipe, my pumpkin fondant tutorial or anything else to do with Halloween, you know where to find it! Throughout the year I’ll be changing this to reflect the seasons, the holidays, and my latest obsessions!

Purple buttercream and stars

This year, my menu is nowhere near organised… but I do know what my costume will be. Thanks to a quick shop in Primark, I will be an ’80s zombie, complete with acid yellow dress, purple tights, orange legwarmers and a heck of a lot of purple accessories. I am perfecting my moaning noises every morning whilst getting up, I assure you! And I have a magic lipstick that looks green but turns pink when you put it on. Now, how scary is that?

Pst – I’m totally honoured to have been featured in Indie Fixx’sHalloween Tutes from Around The Interwebs‘ – in the same list as Martha Stewart, no less! Watch out, Mazza…

Halloween Marshmallows

This weekend I’ve had the pleasure of spending a lot of time with Life is Sweet, by Hope and Greenwood, which is, as it so rightly says on the cover, a collection of splendid old-fashioned confectionary (buy it if you get the chance! It’s very reasonably priced and ever so good). I’ve made marshmallows, fudge and cinder toffee, and although the cinder toffee wasn’t the best I’ve ever tasted, I was particularly pleased with the fudge. However, as Halloween is coming up, I thought I’d make some spooky Halloween marshmallows by colouring them purple. The vanilla marshmallow recipe in Life is Sweet is unfortunately misprinted and the ingredients list is screwed up, so I’ve adapted my own from the recipe for Mallows D’Amour. There are a few technical aspects to this recipe which might prove difficult – you need a stand mixer (although I did experiment with an electric handheld whisk, and the patient might just be able to cope like this, holding it for around 15 minutes!) and a sugar thermometer. I had to borrow both of these, but a sugar thermometer is a great investment for making fudge, toffee, caramel and jam.

Halloweeen marshmallows with black stars

Halloween Marshmallows (adapted from Mallows D’Amour, Life is Sweet by Hope and Greenwood)

INGREDIENTS

  • 450g (1lb) granulated sugar
  • 1 tbsp liquid glucose
  • 1 sachet powdered gelatine
  • Good dab of purple colouring paste (I used Wilton’s Violet)
  • 1 tsp vanilla extract
  • 2 large egg whites
  • Cornflour and icing sugar, to dust
  • Purple sugar/black stars or any Halloween themed decorations

METHOD

  • Line a 20cm/8inch square baking tin with baking parchment or greaseproof paper and dust with cornflour and icing sugar. I’ve found you need a heck of a lot of this to keep the marshmallow from sticking.
  • In a deep, heavy bottomed saucepan, add the sugar, glucose and 200ml of water and stir. Place over a medium-high heat and add your sugar thermometer. Keep cooking until the temperature reaches 127C or 260F. This could take 15 minutes or as long as 25, so keep an eye on it.
  • Whilst this is happening, put 100ml of boiled water in a bowl and sprinkle over the gelatine. Stir well until dissolved. This will really smell. Gelatine is not suitable for veggies, and from the smell of the gelatine, you will know why. Don’t panic, the smell goes away, and there is no taste of the gelatine whatsoever in the finished marshmallow. Now that would be Halloweeny…
  • When your gelatine and water is mixed well, add the vanilla and a good dab of purple colouring. For Halloween, you could also try black, orange and green – just remember that the colour will fade because of the egg whites, and the dusting of sugar and cornflour. When you add the food colouring, you should get a very dark colour. So much that you are secretly thinking ‘oh dear, I put too much in’. This will most likely give you a subtle shade…
  • When your syrup has reached the right temperature, you need to have a little panic attack and start jumping up and down and worrying you’re not ready. Don’t worry if you haven’t mixed your gelatine yet – I did this and it turned out all right. Just add it to the pan of sugar syrup and mix well. It’ll bubble, so watch out.
  • Get your stand mixer and whip the eggs until stiff peaks form. Turn the mixer down as slowly as it will go, and add the syrup and gelatine in very gently. Slow, slow. This could take a while… The heat from the syrup is heating the egg whites, so if you pour it on too fast, it’s likely the word could implode.
  • When you’ve done this, you turn the speed up to superfast and leave to beat for at least 15 minutes. The mix is ready when it holds onto the whisk well, and is thick and shiny.
  • Pour into your dusted pan. Leave it to set for a long time – the book says 2 hours, but I’ve left mine overnight before.
  • Turn the marshmallow out onto another dusted piece of parchment paper. If you’re like me, the mix will still have stuck to the bottom of your originally dusted piece of paper, so dust all sides until nothing is sticky. Then, slice and dust, slice and dust, into whatever shapes you like. Once you’ve dusted your marshmallows, you can shake off the excess coating by throwing them gently from hand to hand. Store in parchment paper.
  • Serve with edible sugar, as above, or with anything suitably Halloweeny…

Purple sugar Halloween marshmallows

How about black sugar stars, like the first photo? Or purple sanding sugar, like the photo above?Or, if you want to be more sophisticated, why not keep your mallow mix white, and then decorate with tiny gold stars? (I got mine from Jane Asher’s site.)

Starry Halloween marshmallows

These are too good to give to Halloween trick or treaters…

Halloween fondant pumpkin tutorial

A couple of weeks ago, I decided to have a go at making some cute little pumpkins to go on top of Halloween cupcakes.

Fondant pumpkins

These are easy to make and don’t require any equipment beyond fondant, orange dye and toothpicks. (And green and brown dye if you want to make stalks, leaves and vines.)

Equipment

If you have orange fondant, well, you’re one step ahead… Hurrah! If you want them to be hard, you should make them a couple of weeks before when you need them, so you can sit them in a cool, dark place to set.

Fondant pumpkins, step one

First of all, roll your fondant into a small ball, then squash it down so it makes an oval. This will give it a much more interesting shape than a plain old sphere.

Fondant pumpkins, step two

Now it’s time to use your specialist equipment. First of all, pierce the centre to mark it. Then, rolling the toothpick, create a dimple in the centre of your ball.

Fondant pumpkins, step three

There you go – now you’ll have what looks like an orange doughnut gone wrong.

Fondant pumpkins, step four

Now, use your toothpick to create lines from the centre down the edge of your pumpkin, using a rocking motion. I do this by doing the four compass points, then filling in the spaces in between.

Fondant pumpkins, step five

Like so! With the heat of your fingers, your pumpkin might get a little floppy. You can fix this by placing it in the fridge at any point if it starts getting hard to handle. Don’t be a pushover for a vegetable made of sugar.

Fondant pumpkins, step six

That’s pretty much it! You can add a stalk (I’ve seen people use cloves for this, but obviously they’re not really edible like that) or even make a curly vine from green fondant curled around a matchstick.

Too cute to eat? Never!

A Halloween cupcake preview…

Over the weekend, I’ve acquired some food colouring paste, numerous sprinkles and cupcake cases, and an obscene amount of butter, sugar and eggs. I’ve also learnt how to mould fondant into mini pumpkins (and, more importantly, found out what fondant is and where to buy it from). All of this is for a good cause…

Halloween cupcakes

More cupcakey Halloweeny goodness when it’s actually October… I just couldn’t resist posting these babies now!

Getting ready for Halloween…

Did I mention that I love, love, love Halloween? Well, I do. I really, really do. The dark nights, the ghost stories, the crazy outfits, the pumpkins. The fact that Christmas is coming and the air is getting cool enough to wear scarves and hats and massive coats – my favourites! The fact that Bonfire Night is coming too, and with it firework displays and standing with a cricked neck for half an hour in the dark and the cold. I love Halloween – it’s like a portal to the winter months.

Getting ready for Halloween...

Here’s my latest Halloween purchase – last year it was all about buying my aristocratic vampire outfit… this year, it is all about CAKES. Halloween cakes! This year, I cannot celebrate Halloween without cupcakes. I’ve bought a piping bag and everything… Stay tuned.